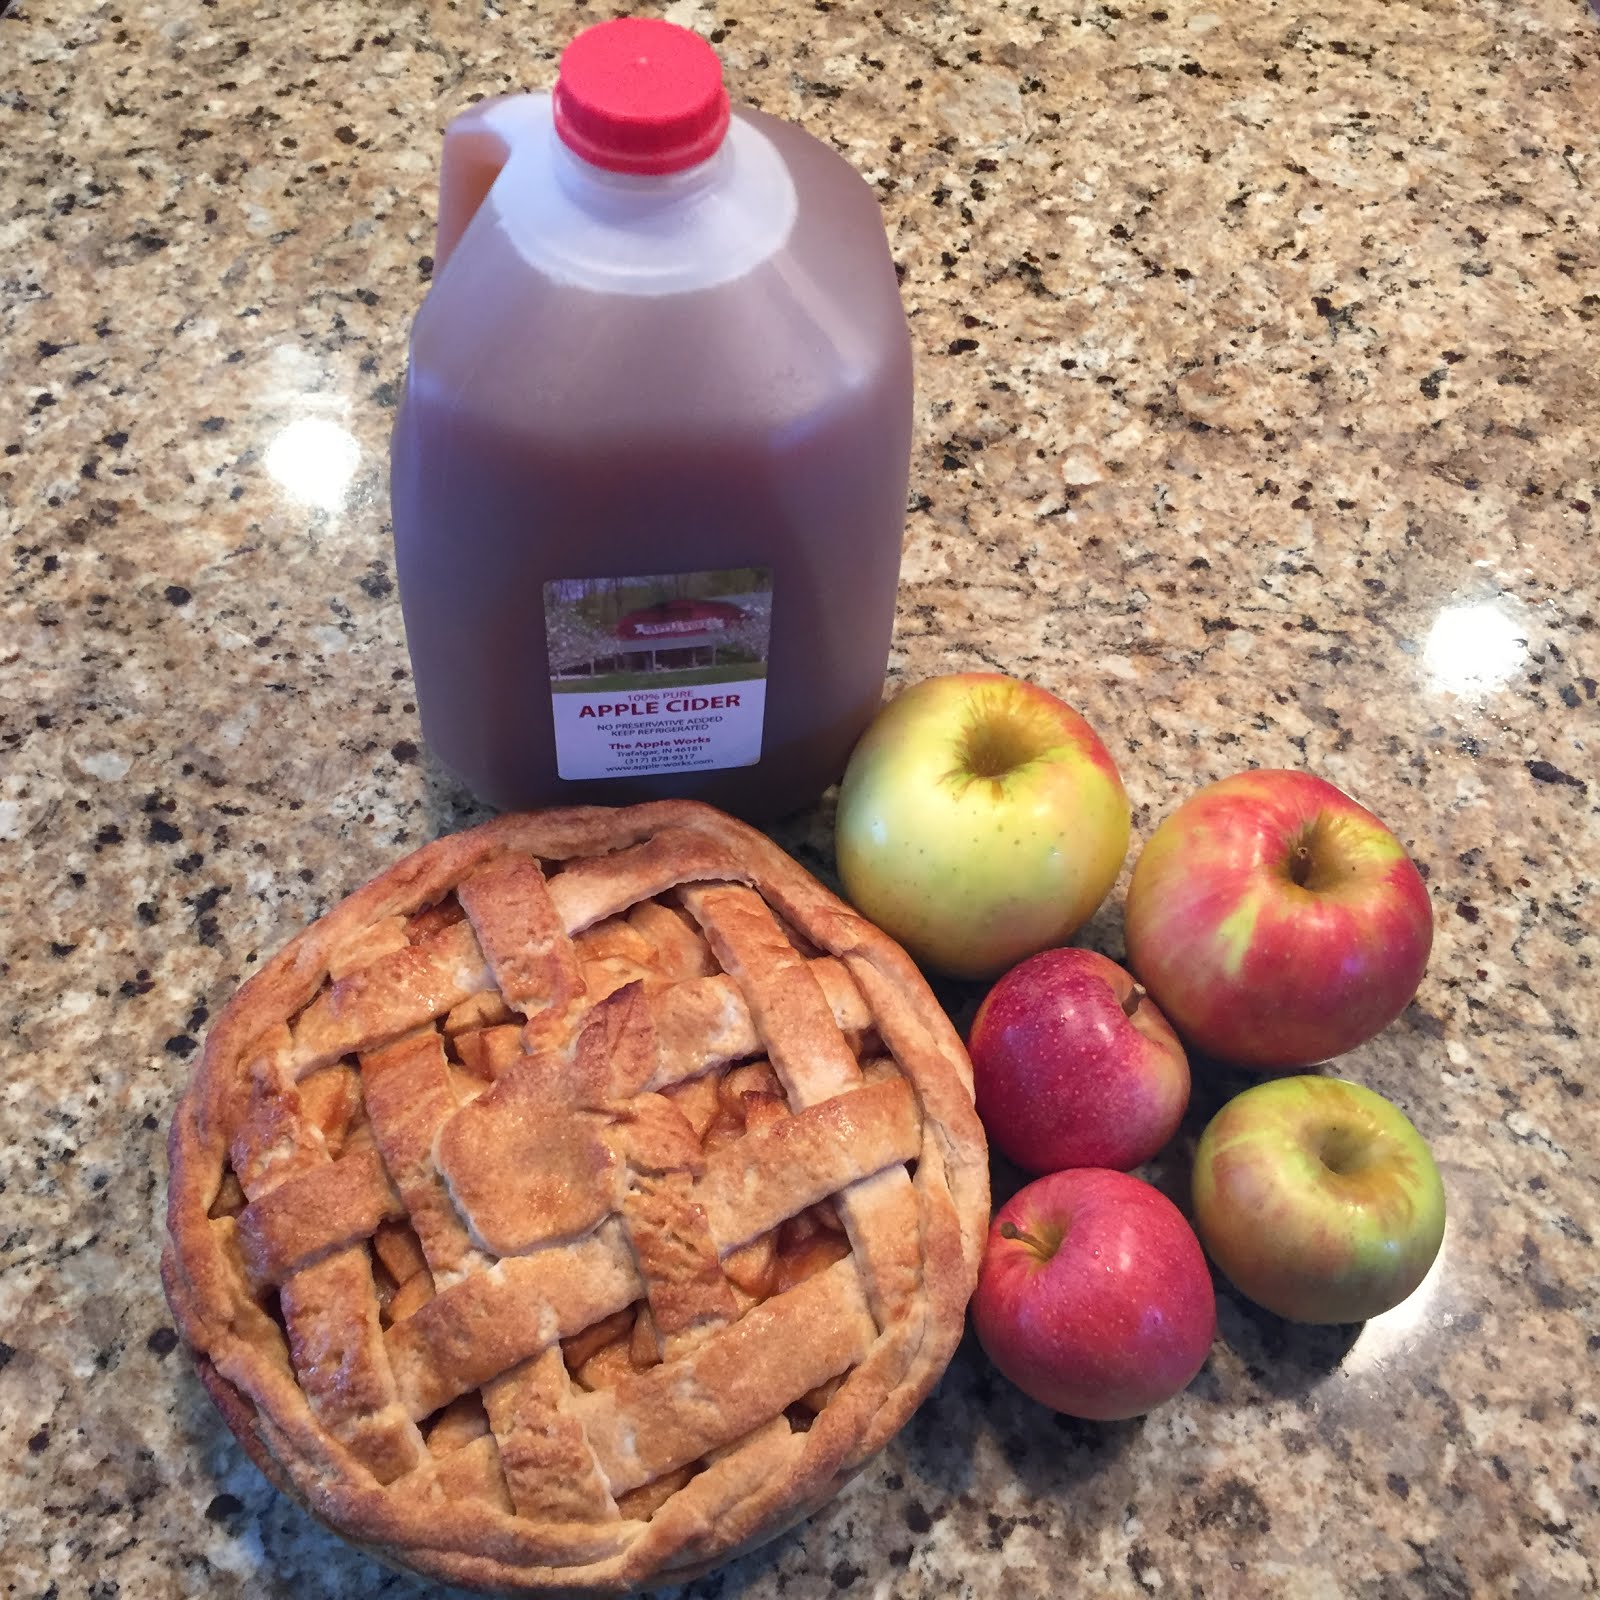
.

.
Showing posts with label Recipes and More!. Show all posts

Saturday, September 24, 2016

Fall is Here!

Sometimes when I finally get to Apple Works, they are out of my favorite apple. This year I went early and found out that my favorite tart apple actually gets picked in early September. It's the  SWISS GOURMET.
 I tried a recipe that Jennifer Denison posted on Facebook last fall. You will love the brown sugar glaze.

Glazed Apple Bundt Cake
yield: SERVES 10-12 total time: 1 HOUR, 30 MINUTES PLUS COOLING
Tender and moist homemade apple bundt cake smothered in a buttery brown sugar glaze. My favorite cake for the crisp fall weather.
Ingredients:
APPLE BUNDT CAKE
3 cups (375g) all-purpose flour (measured correctly) 1 teaspoon baking soda
3 teaspoons ground cinnamon
1/2 teaspoon ground nutmeg

1/2 teaspoon salt
1 and 1/4 cups (300ml) canola or vegetable oil

1/2 cup (120g) plain Greek yogurt1
1 and 1/4 cups (250g) packed light or dark brown sugar 1/2 cup (100g) granulated sugar
3 large eggs
1 Tablespoon vanilla extract (yes, 1 full Tablespoon)

3 medium apples, peeled and chopped into small chunks2
BROWN SUGAR GLAZE
1 cup (190g) light or dark brown sugar (I prefer dark here) 1/4 cup (60g) unsalted butter
1/2 cup (120ml) heavy cream
1/2 cup (62g) confectioners sugar, sifted

Directions:
1               Preheat oven to 325F degrees. Spray a 10-12 cup bundt pan with nonstick spray. Set aside.
2              In a large bowl, toss the flour, baking soda, cinnamon, nutmeg, and salt together until combined. Set aside. In a medium bowl, whisk the oil, yogurt, brown sugar, granulated sugar, eggs, and vanilla together until combined and creamy. Pour the wet ingredients into the dry ingredients and slowly whisk until no large lumps remain. Try to avoid overmixing. Using a rubber spatula, carefully fold in the apple chunks. If you feel 3 large apples is too much, feel free to cut down to 2 apples. I like a lot of apple chunks in my cake.
3              Spoon/pour the thick batter into the prepared bundt pan. Bake for 55-75 minutes or until a toothpick inserted in the cake comes out clean. The baking times may vary depending on your oven, if you used a 10 cup bundt pan or 12 cup, or if you used less apple chunks. Keep your eye on the cake after 55 minutes. Feel free to cover the cake loosely with aluminum foil about halfway through to prevent heavy browning on top.
4              Allow the cake to cool in the pan set on a wire rack, then invert onto a serving plate once cooled and ready to serve. As it cools, however, you may prepare the brown sugar glaze. Combine the brown sugar, butter, and heavy cream in a medium saucepan over medium heat. Bring to a boil, stirring the mixture often. Allow to boil for 1 minute (without stirring), then turn the heat down to low and allow to simmer for 1 minute. Remove from heat and whisk in the confectioners' sugar. Allow glaze to cool and slightly thicken for at least 5 minutes. Spoon glaze over the cake right before serving. If your glaze thickens up too much before serving the cake, warm in the microwave for 15 seconds and stir until smooth.
5              I like this cake warm, at room temperature, and even cold. In fact, I love it cold. Cover leftovers and store at room temperature for 3 days or in the refrigerator for up to 5 days.

Make ahead tip: Cake freezes well up to 3 months. Thaw overnight in the refrigerator and allow to come to room temperature before serving.


Tuesday, February 2, 2016

Marble Red Velvet Cheesecake Brownies! YUMM!


Ingredients:

  • 3 1/4 cups flour
  • 2 1/4 cups granulated sugar
  • 3 tablespoons cocoa powder
  • 1 teaspoon salt
  • 1/2 teaspoon baking powder
  • 3 large eggs
  • 1 cup vegetable oil
  • 4 tablespoons milk, divided
  • 1 tablespoon vanilla extract
  • 1 tablespoon red food coloring 
  • 2 teaspoons white vinegar

  • 2 8oz packages cream cheese, softened
  • 3/4 cup granulated sugar
  • 2 large eggs
  • 2 teaspoons vanilla

Directions:

  • Preheat oven to 350*. Grease a 13X18 jelly roll pan with butter
  • In a large bowl, whisk together flour, sugar, cocoa powder, salt and baking powder. Set aside
  • In a medium bowl, whisk together eggs, vegetable oil, 2 tablespoons milk, vanilla extract, red food coloring and white vinegar
  • Combine the dry and wet ingredients until completely combined. 
    • The batter will be really thick, almost moldable texture...but don't worry that is what you want. 
    • Remove 3/4 cup of the batter and place it in a medium bowl.
    • Whisk in the remaining 2 tablespoons of milk into the 3/4 cup of batter you just took out and set aside the 3/4 cup batter.
  • Pour the remaining batter into the prepared jelly roll pan. Using a spatula, smooth out the batter to reach all the edges.
  • Now, in stand mixer, beat cream cheese and sugar until fluffy (about 2 minutes).
    • Add eggs and vanilla, beating until combined and there are no lumps. 
    • Pour the cream cheese mixture on top of the red velvet layer and smooth mixture until it reaches all the edges.
  • Drop spoonfuls of the remaining red velvet batter (that you mixed with milk) onto the top of the cheesecake layer. 
  • Drag the tip of a knife through the red velvet and the cheesecake layers to create swirls.
  • Bake for 30 minutes, rotating half way through, or just until the center is set and it no longer jiggles.
  •  Let cool completely on a wire rack before cutting.
  • Use a medium sized heart cookie cutter to create the perfect Valentines Day treat!
Helpful tip!
The author recommends using a heavy duty jelly roll pan to avoid burning the bottom of your brownies!

Recipe credit: http://www.thenovicechefblog.com

Thursday, December 3, 2015

Salted Caramels


Ingredients:
1 cup Heavy Cream
1/2 cup Butter
1 1/2 cup Sugar
1/4 cup Corn Syrup
1/4 cup Water
1/2 tsp Vanilla
1/2 tsp Coarse Sea Salt


Directions:
Spray with non stick spray and line an 9×5 loaf dish with parchment so that excess paper comes up the sides.

Cut up butter into slices and combine with cream and microwave 1-2 minutes until butter is melted.

In the medium to large saucepan, combine the sugar, corn syrup, and water.

Stir just until the sugar is moistened and uniform, being careful not to splash sugar on sides.

Heat over medium heat until the mixture comes to a boil.

Cover with a lid for 1 minute (this helps wash any sugar on sides back in).

Remove lid and do not stir the after this point.

Place the pot with the sugar mixture over medium to medium-high heat.

Let the sugar syrup come to a boil without stirring.

Cook until mixture reaches 320, the syrup will begin to darken slightly.

Turn off the heat and slowly add the warm cream and butter mixture a little at a time while gently whisking (will bubble violently).

Turn burner back on to medium-high.

Let the caramel come to a boil and reach 240 without stirring.

Remove from heat and whisk in the vanilla.

Pour into the prepared pan.

Cool 20 to 30 minutes then scatter the salt over the caramel.

Let the caramel cool 4 hours.

Lift out of the pan using parchment paper and onto a cutting board.

If caramels are still too soft, refrigerate for 30 minutes.

Cut the caramels into candies with a very sharp knife.

Cut squares of wax paper a little larger than caramels.

Wrap each in the wax paper and twist the ends.


A Wonderful Holiday Gift Idea! YUM!


Recipe From <http://cincyshopper.com/salted-caramels-recipe-great-gift-giving/>

Tuesday, October 13, 2015

Pumpkin Bread


Ingredients

  • 1/2 cup granulated sugar
  • 1/2 cup dark brown sugar
  • 1 cup + 1 1/2 Tbsp all-purpose flour
  • 3/4 tsp baking soda
  • 1/2 tsp baking powder
  • 1/2 tsp salt
  • 1/2 tsp cinnamon
  • 1/2 tsp pumpkin spice
  • 1 large egg
  • 3/4 cup pumpkin puree
  • 1/3 cup oil
  • 1/3 cup water


Directions

  1. In a large bowl, combine both sugars, flour, baking soda, baking powder, salt and spices
  2. In another bowl, combine eggs, pumpkin puree, oil and water. Add wet ingredients to dry ingredients. Mix until combined
  3. Grease a 9 X 4 loaf pan and pour the batter into it.
  4. Bake at 350 F for 45-60 minutes, or until a toothpick inserted in the middle comes out clean. Let cool for about 5 minutes. Then take out of the pan and wrap in aluminum foil. Let it cool completely.


Recipe from <http://www.kitchennostalgia.com/bread/moist-pumpkin-bread.html>

Thursday, July 16, 2015

Quick and EASY! Corn on the Cob!

We are in Indiana! Who doesn't love corn?

Check out this quick and EASY way to make perfect corn every time WITHOUT all the mess!


Place corn in microwave (up to 4 ears, maybe more if stacked) and cook for 8 minutes.


Remove corn from microwave (be sure to use an oven mitt as they will be VERY hot) and place on a cutting board. 


Take a sharp knife and cut off the end of the corn (about 1-2 inches)


Pick up the ear of corn and hold it at the top.  With a shaking motion, start to slide the husk off and the corn will slide out, leaving the corn-silk in the husk!

Cooking the corn in the microwave seems to make the corn silk shrink and attach itself to the husk, leaving the corn to slip out of its casing.


No mess, no fuss!


[Recipe taken from theculinarychase.com]

Thursday, March 19, 2015

Yarn Easter Eggs

Want to make these adorable Easter Eggs? Click the link below for supplies and instructions! I made these a couple years ago...they turned out awesome and it was such a fun craft! I can't wait to try it again this year!


Tuesday, February 24, 2015

Honey Lime Chicken Enchiladas!

These are seriously yummy! And if you are always looking for something different to whip up for dinner, this is a fresh new take on traditional enchiladas!


Recipe:
Marinade:
6 tablespoons honey
5 tablespoons lime juice
1 tablespoon chili powder
1/2 teaspoon garlic powder

Enchiladas:
1 pound chicken, cooked and shredded
8-10 flour tortillas
1 pound monterrey jack cheese, shredded
16 ounces green chile enchilada sauce
1 cup heavy cream

Directions:
Whisk the first four ingredients and toss with shredded chicken in a ziplock bag. Let it marinate in the fridge for at least 1/2 hour, but preferably a half day or so. Pour about 1/2 cup enchilada sauce on the bottom of a 9X13 baking pan. Fill the tortillas with chicken (saving marinade) and shredded cheese (saving 1 cup to sprinkle on top). Put rolled tortillas in 9X13 pan as you go. Mix the remaining enchilada sauce with the cream and leftover marinade. Pour sauce on top of the enchiladas. Sprinkle with remaining cheese. Bake at 350 degrees for 30 minutes until brown and crispy on top.


Friday, January 23, 2015

Biggest Loser Pancakes!

This is for all of you who are starting this new year off trying to eat a little healthier! These Biggest Loser Pancakes are both yummy and healthy to enjoy!


 Ingredients 
6 egg whites
1 cup rolled oats, dry
1 cup cottage cheese
2 teaspoons sugar
1 teaspoon cinnamon
1 teaspoon vanilla

Put all the ingredients in a blender and blend until smooth and thats your batter. Then cook 'em up like you would any other pancake!

Saturday, December 20, 2014

Cream Cheese-Stuffed Lemon French Toast with Strawberries


Here's another great recipe to whip up on Christmas Eve while sugar plums are dancing in your children's heads.

Recipe by Our Best Bites

French Toast
  • 6 large, stale butter croissants
  • 1 8-ounce package cream cheese
  • 1 1/4 cups powdered sugar, divided
  • 2 lemons
  • 1 1/4 teaspoons lemon extract
  • 2 eggs
  • 1 1/2 cups milk
Strawberry Sauce
  • 1 pint fresh strawberries, washed, stemmed, and chopped
  • 1/3 cup sugar
  • 1 tsp vanilla
  • Sweetened Whipped Cream 
  • 1 cup heavy whipping cream
  • 1/3 cup powdered sugar
Slice the croissants in half lengthwise. Set aside.

In a medium mixing bowl, combine the cream cheese, zest of one lemon, strained juice of one lemon, and 3/4 cup powdered sugar. Mix with an electric mixer until light and fluffy.
Spread the lemon cream cheese mixture over the bottoms of the croissants and then replace the tops, pressing down to flatten. Cut into halves (or even fourths if necessary) and arrange the pieces evenly in a 9×13″ pan lightly sprayed with nonstick cooking spray.

Whisk together the milk, eggs, lemon extract, zest from the second lemon, and remaining 1/2 cup of powdered sugar. Pour evenly over the croissants and cover with aluminum foil. Refrigerate for 8-10 hours.

When ready to bake, preheat oven to 350. Bake covered for 30 minutes and then remove the foil and bake for another 20-30 minutes or until the croissants are golden brown and the liquid is absorbed. Remove from the oven and allow it to stand for 5-10 minutes. Cut into squares and top individual servings with Strawberry Sauce, fresh sliced strawberries, and, if desired, sweetened whipped cream. 
For the sauce: Wash strawberries and remove stems. If you’re feeling ambitious, you can roughly chop the berries, but I say you’re already feeling ambitious enough by making your own strawberry sauce. So don’t sweat it.


For the whipped cream: Combine whipping cream and powdered sugar in a large bowl. With an electric hand mixer, beat whipping cream until soft peaks form. Serve immediately with pie, cake, ice cream sundaes, etc.

Thursday, November 20, 2014

Pumpkin Dump Cake


If you have never heard of dump cake before it was a recipe that became popular in the 80’s by church cookbooks and potlucks…my mom made them and so did my grandma.  You basically dump in a few cans of fruit in a pan and cover it with cake mix and butter and bake it.
This is the same idea, only adios fruit and hola pumpkin!.
Here’s how…


First you dump a can of pumpkin, a can of evaporated milk, some sugar and some eggs into a bowl…


Pour your mixture into a sprayed 9×13 baking pan and sprinkle a yellow cake mix on top.


Then you can top it with nuts, but since I don’t like nuts I topped it with some crushed graham crackers and toffee bits.

Now here’s the kicker…You now melt 2 sticks of butter and pour that over the entire thing.
Then pop it in the oven and it comes out looking something like this…minus the spoonful that’s missing because I couldn’t wait.
So, you can stop there…but if you have ice cream in the freezer, I highly recommend plopping some on top.

Pumpkin Dump Cake

Ingredients

·       1 15 oz. can Pumpkin
·       1 10 oz. can Evaporated Milk
·       1 cup light brown sugar
·       3 eggs
·       3 tsp pumpkin pie spice
·       1 box yellow cake mix
·       1 cup (2 sticks) butter melted
·       1 cup coarsely crushed graham crackers or pecans
·       ½ cup toffee bits (optional)
Instructions
1.    Preheat oven to 350
2.    Spray a 9×13 baking pan lightly with cooking/baking spray
3.    In a large bowl combine the pumpkin, evaporated milk, sugar, eggs and pumpkin pie spice. Stir to combine.
4.    Pour into your prepared pan.
5.    Sprinkle your entire box of cake mix on top, followed by your nuts or graham crackers and toffee chips.
6.    Pour your melted butter evenly on top.
7.    Bake for 45-50 minutes until center is set and edges are lightly browned.
Notes
Serve with ice cream or whipped cream
From the blog:  cookiesandcups.com